06. gcloud Command Line Tool
gcloud
In order to start the GPU instance first you need to install gcloud command line tool.
It's recommended that you use the provided, interactive installer to install the latest version of Cloud SDK. You may also choose to use a specific version or method, described here, if you do not have a standard OS.
Interactive Install
I followed the instructions for interactive install for Mac OSX. First I opened my terminal and ran the download command.
curl https://sdk.cloud.google.com | bash
Mac terminal icon.
This command prompted me for an installation directory, which I called cloud-install.
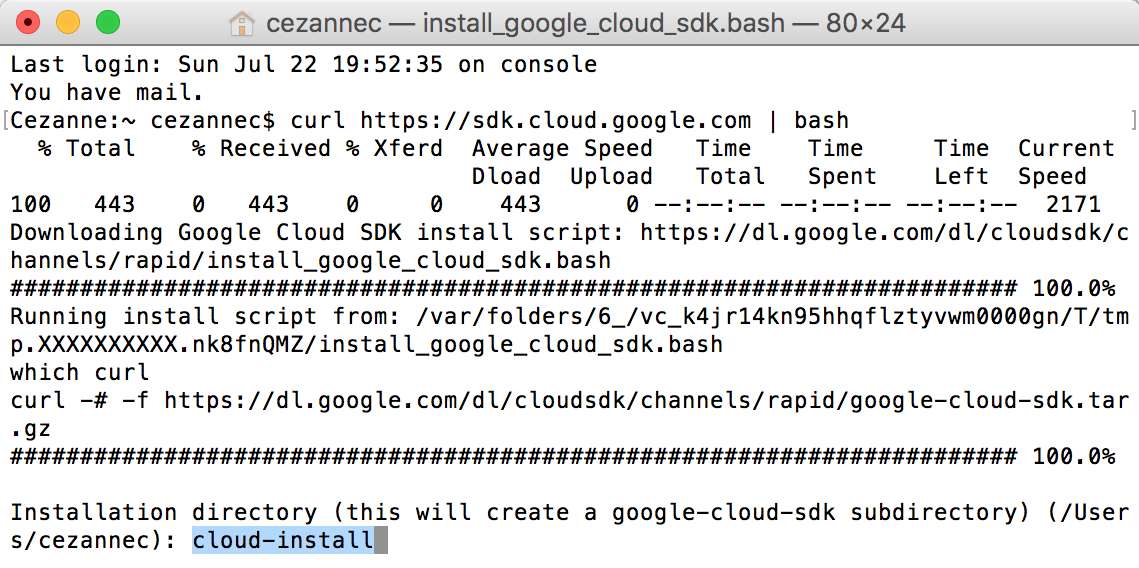
Initial installation commands.
After this step, you should see some text print out, indicating the packages being installed. When prompted to continue, type Y.
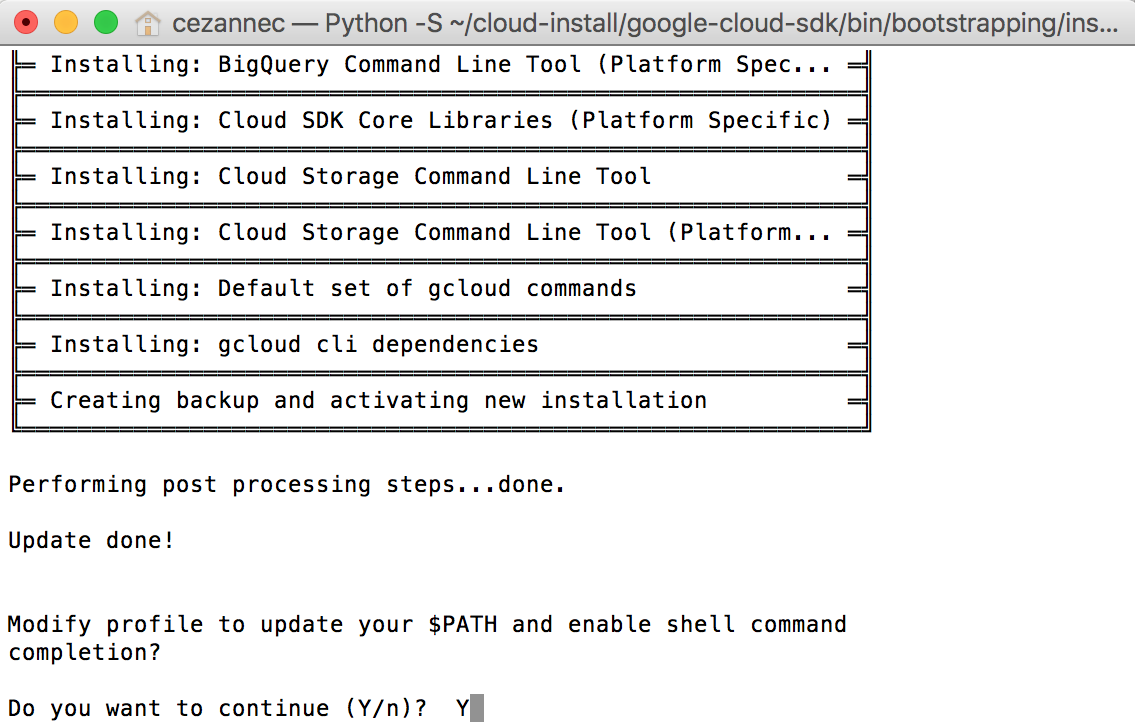
Enable install.
At this point, you may be prompted to enter an rc file; you should leave this blank and press enter for the default behavior. You may also be prompted to leave feedback for Google Cloud; this is up to you!
The next step is to restart your shell for the installation to take effect. Use the command:
bash
exec -l $SHELL

Restart your shell.
FInally, run gcloud init to initialize the gcloud environment:
gcloud init
Initialize gcloud.
This should then ask you to login to your gmail account; this will take you to an authentication page. Once you complete this step, you're almost done!
If you want, you can set the default project from a list of your defined projects in your terminal. We can also specify the project in gcloud in a moment.

Selecting a project via Terminal window.
Use gcloud
Now, if you go back to your GPU project window, you can use gcloud shell by clicking the icon and selecting start cloud shell!
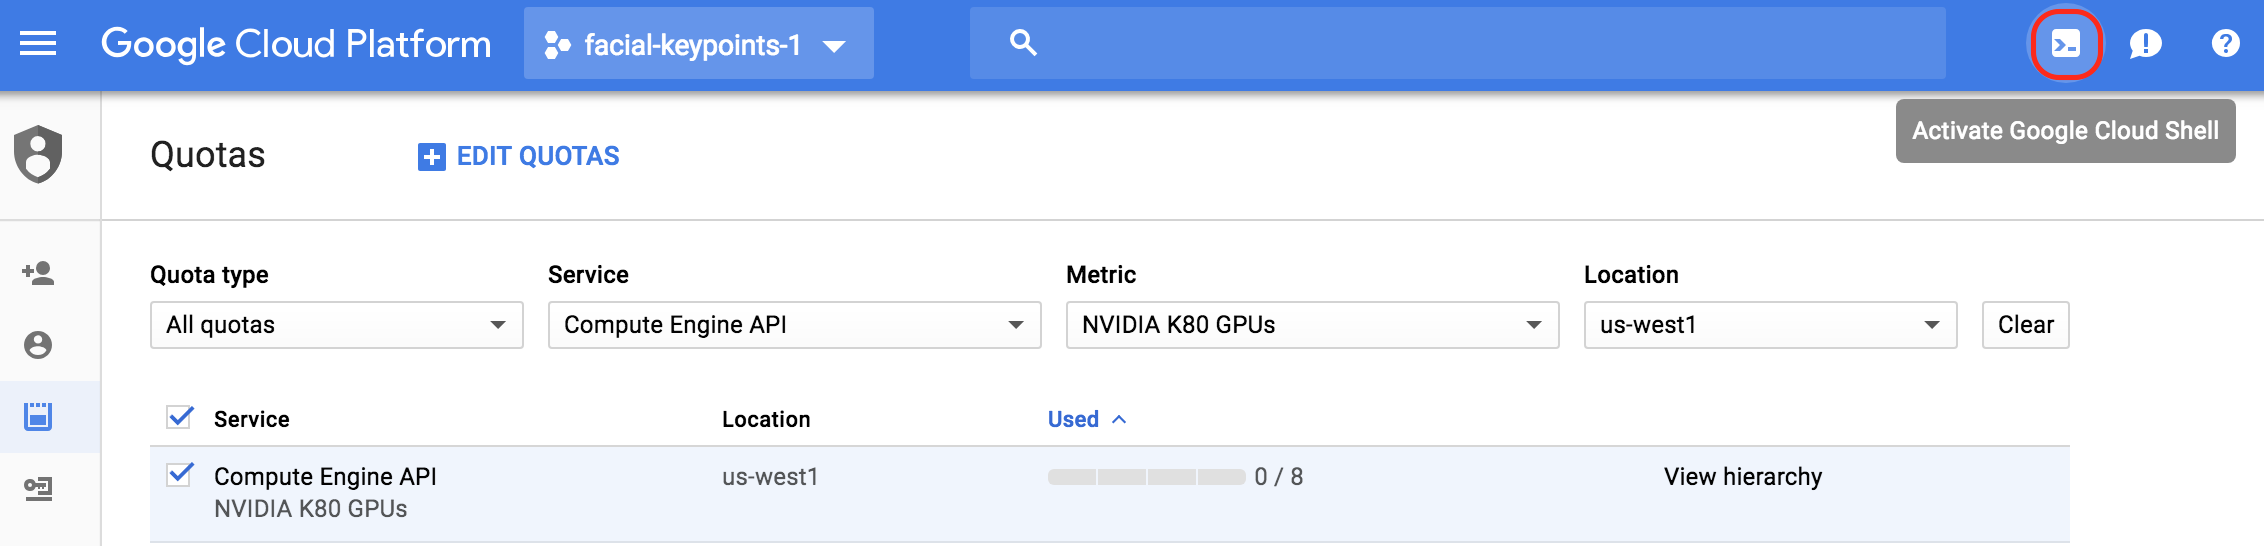
gcloud icon.
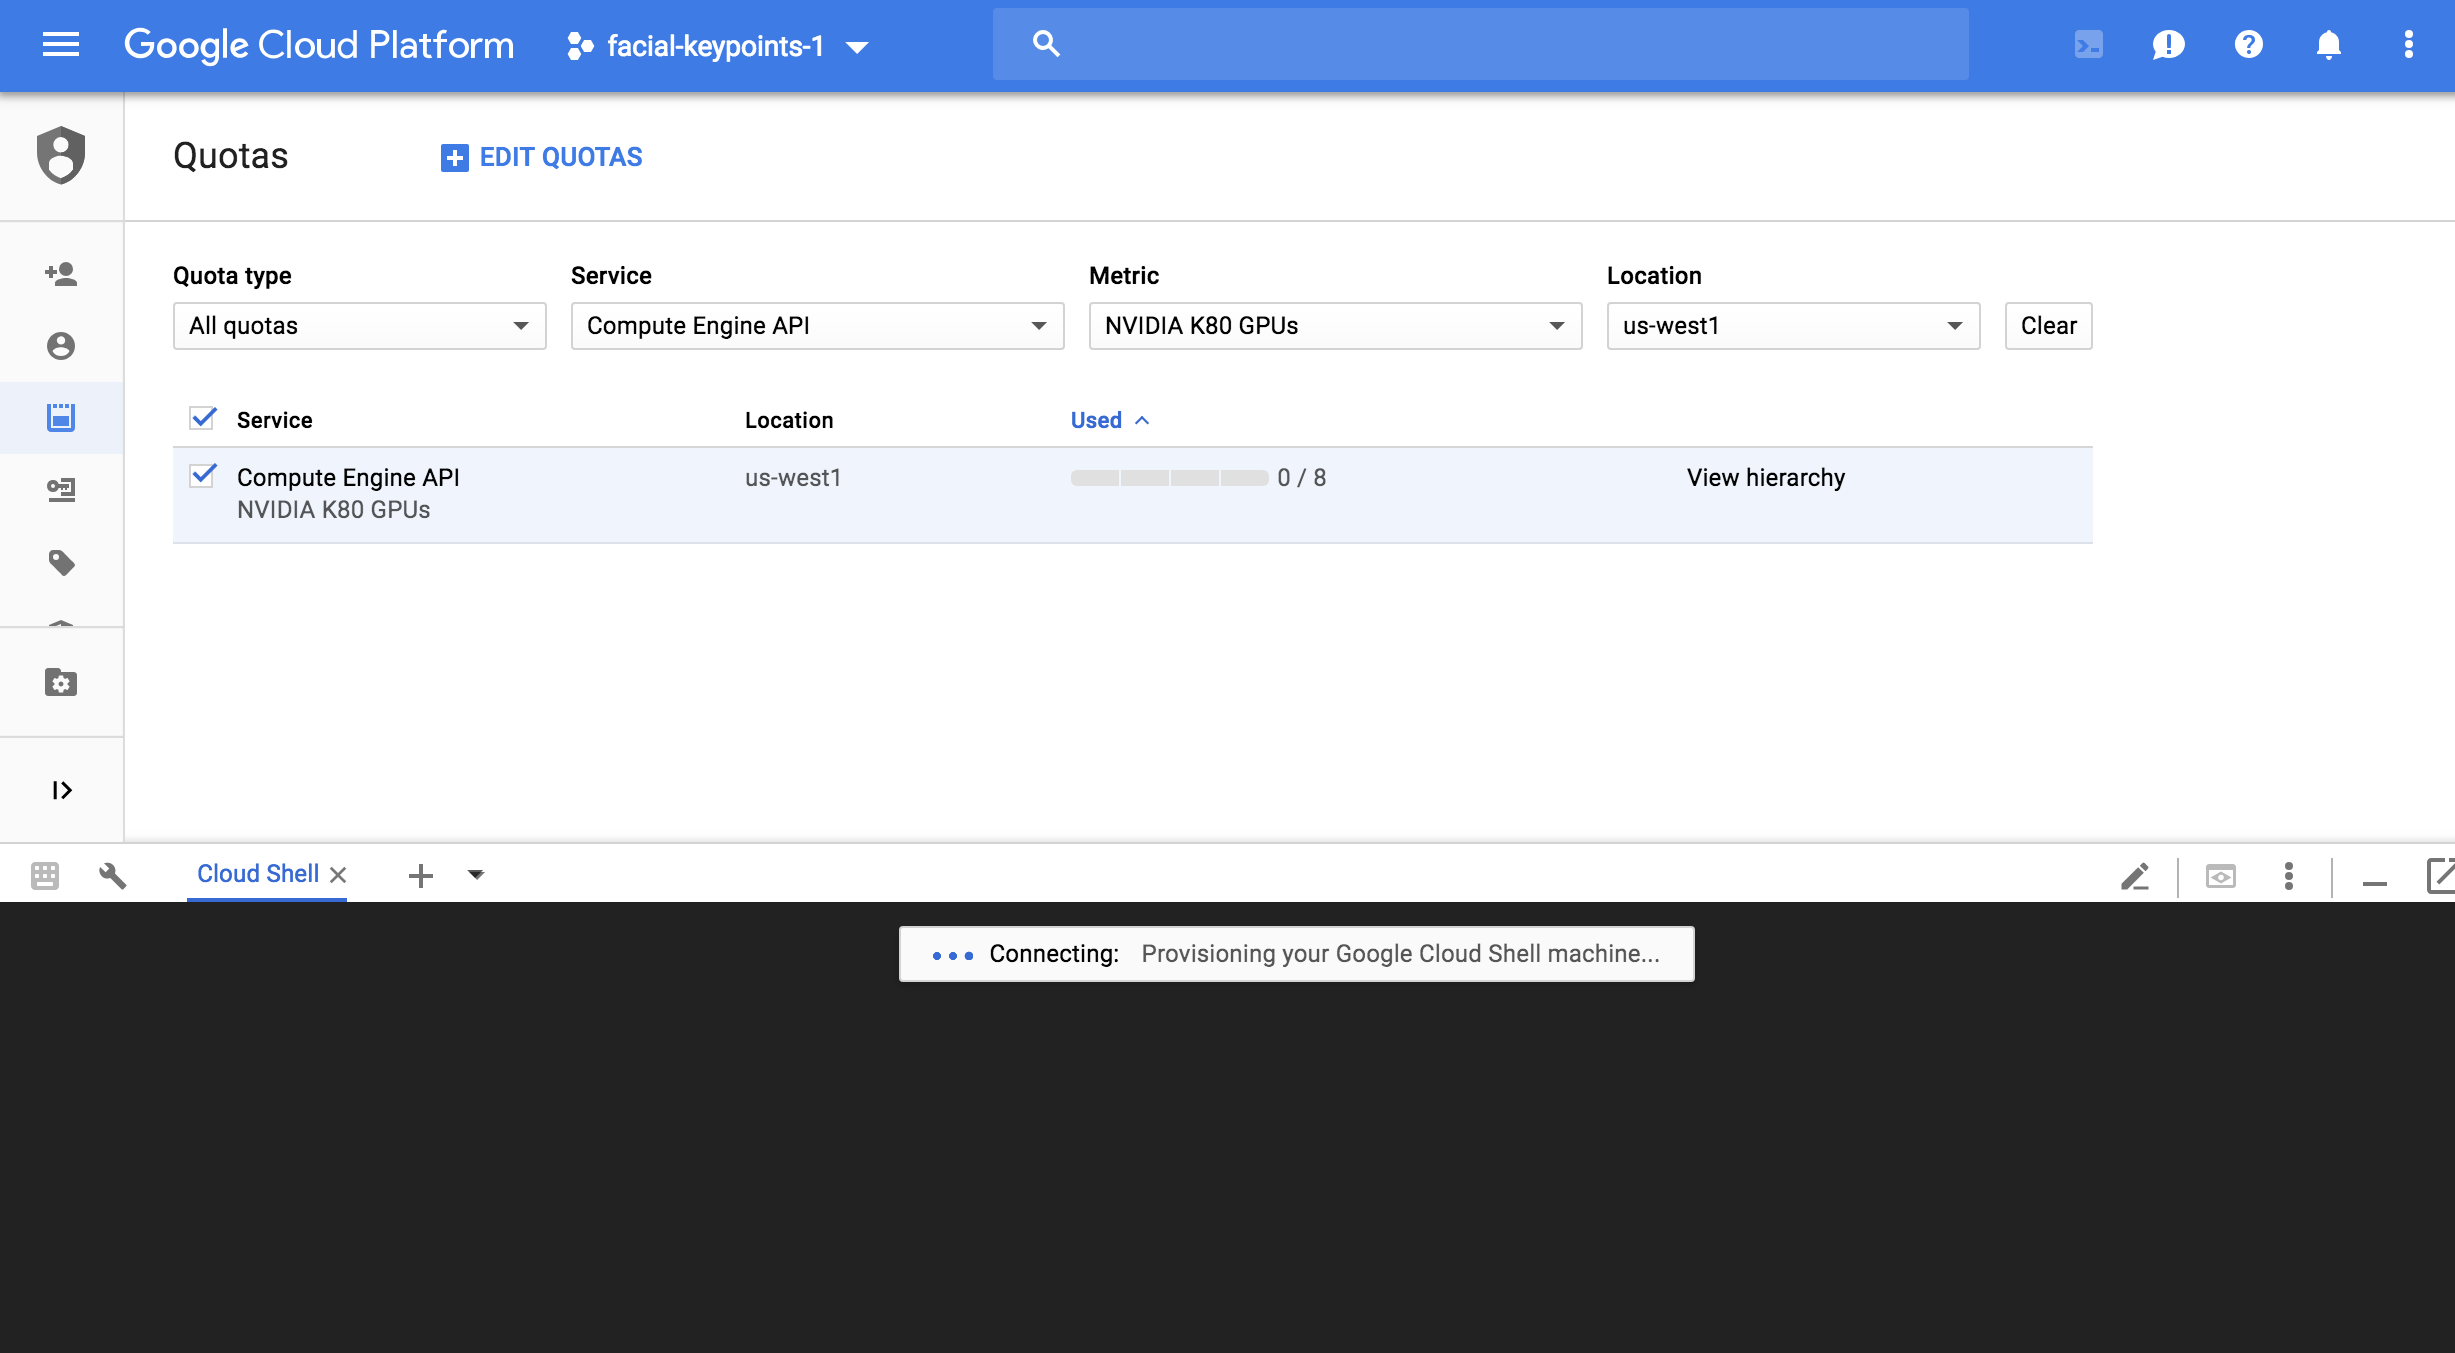
Shell interface.
Next, you'll see how to launch an instance via cloud shell.